

Users and permissions
Add users, choose their role, brands and branches, set which screens they can use, and deactivate users.
Open Settings > Users.
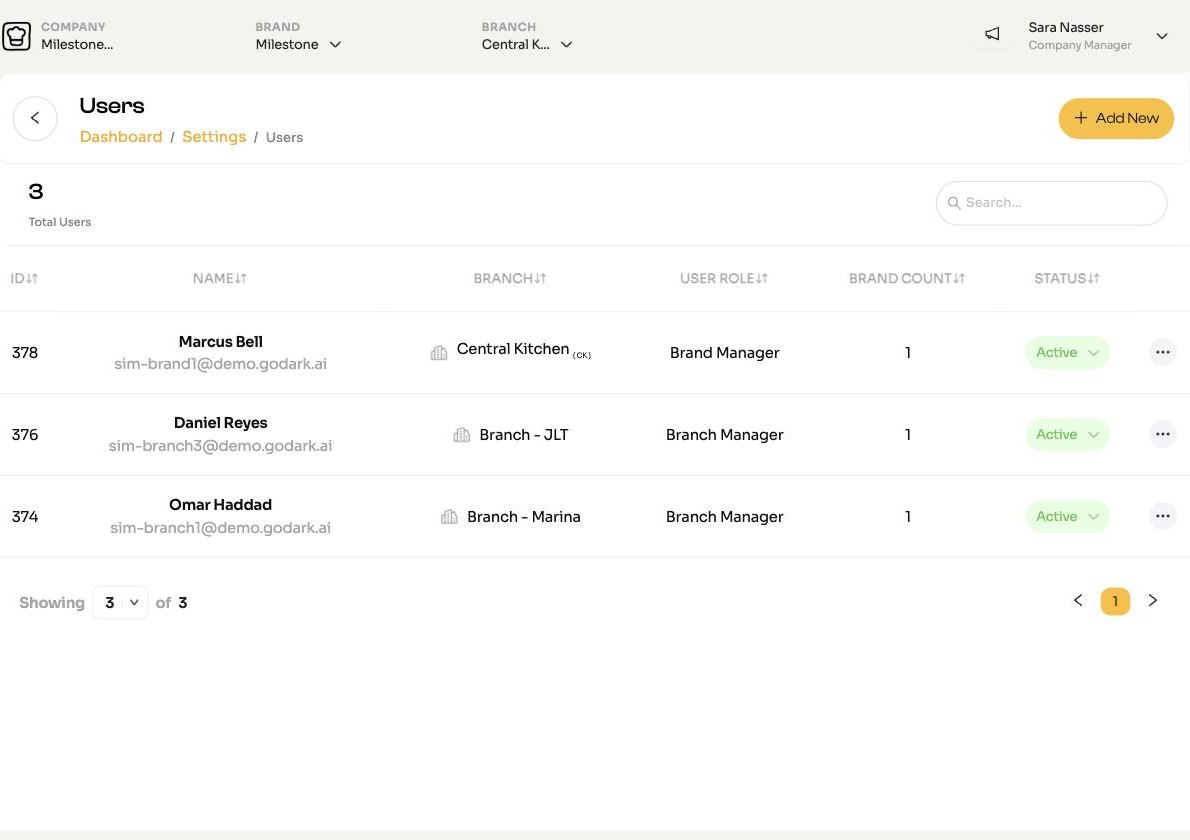
Who can add whom
| You are | You can add |
|---|---|
| Company Owner | Company Manager (one company has one Owner) |
| Company Manager | Brand Manager or Branch Manager |
| Brand or Branch Manager | Nobody |
Add a user
User information
Click Add New. Fill in:
- User Role and Designation (job title).
- Brand and Branch, depending on the role. A Branch Manager needs one brand and one or more branches; a Company Manager needs at least one brand.
- Name, Email and optionally Phone Number.
Granting access
Under Select user roles for granting access, switch on each screen the person can use, grouped by section. Tick Read-only on a screen to let them look but not change anything. Active All switches every screen on.
Click Continue.
They set their password
The new user gets an email to verify their address and choose a password of at least 10 characters. Then they sign in at kms.chefadmin.com.
If you see "Email already exists", that email already has a ChefAdmin login.
Change what someone can do
Edit the user and change their screens in the access step. Menu changes show the next time they sign in.
Deactivate a user
Set their Status to Non Active. They can no longer sign in, and their history stays. Delete does the same.
Chefs and kitchen staff
Chefs using the chef app work in their own space and can send recipes to the brands they are assigned to. For view-only recipe access on staff phones, use the staff link instead of adding desktop users.